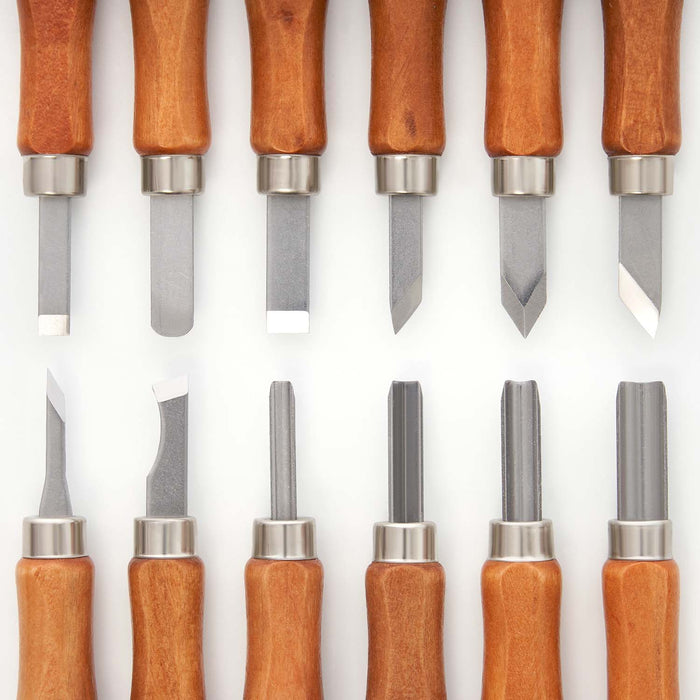
There are many videos online about woodcarving. People enjoy watching Ian's videos because they show the techniques step by step. The videos can be downloaded as video files and also include plans and photographs. All purchasers must be in a position to view MPG videos. In addition to his video tutorials, he also has books available that teach you how to carve various materials. The Fundamentals of Woodcarving by Ian Norbury is one such example.
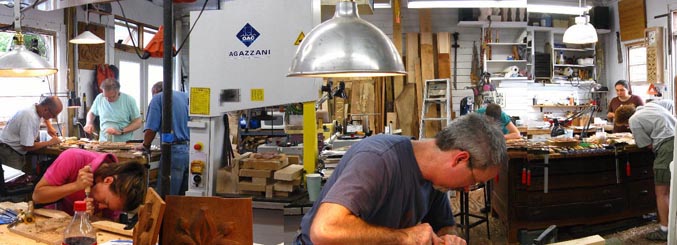
Woodcarving: The Basics
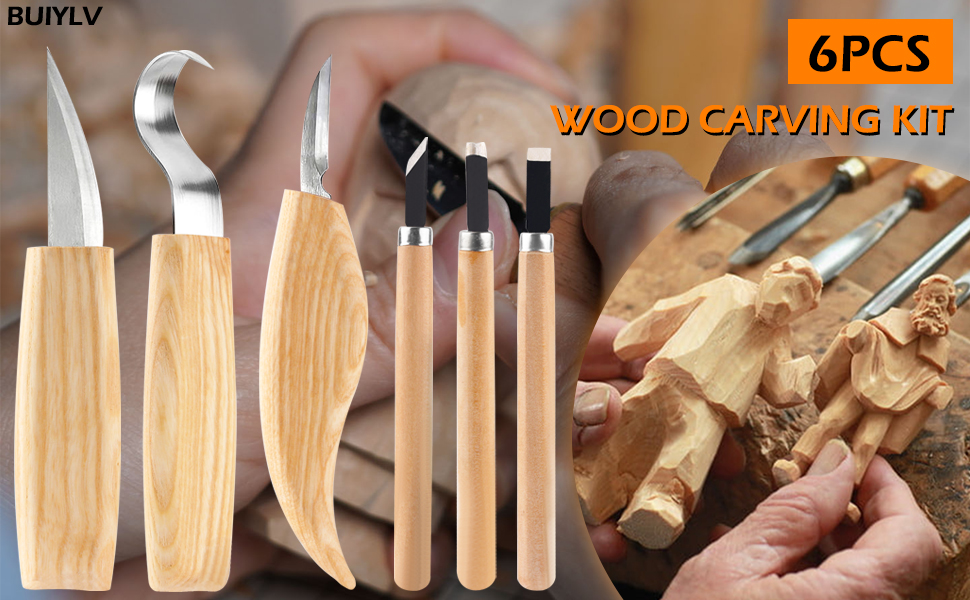
If you are new to woodcarving, you may find it helpful to consider taking a fundamentals class. This class will cover the basics of carving and can be tailored to each student's level. Before diving into advanced woodcarving techniques, you will be taught about safety, woodworking tools, wood finishes, and basic woodcarving skills. This class will teach you how to carve a human face or an eagle and Christmas ornament. Additionally, you will learn about grain direction as well as clever ways to cleanly remove wood.
If you've always wanted to learn how to carve flowers or fruit, you might be interested in taking a woodcarving class. If you're a natural talent for woodcarving, it's not difficult learning the basics. No matter your skill level, you will learn the design process and techniques in a relaxed and fun environment. An experienced woodcarver can tell that you can learn woodcarving by working with a teacher.
Ian Norbury
Watching Ian Norbury's woodcarving videos is like looking over the shoulder of a master carver. Each video guides the viewer step-by–step through the process and shows you how he has refined his techniques over 50 years of carving. In addition to his detailed instruction, these videos are offered free of charge, and even come with a money-back guarantee. These videos can be downloaded anytime and viewed as many times you want.
You can use the DVD as a guide or training tool. You will find step-by–step instructions and clips from Ian Carving in the videos. You can follow the entire process from start-to-finish. Ian's instructional method is very easy to follow. You will learn how to carve a Harlequin and draw a character taken from a legend. There are more videos than two hours to choose from and each can help improve your technique.
Frank Russell
Frank Russell's videos on woodcarving will benefit beginners and intermediate carvers alike. His techniques can be used to carve animals, birds, or plants. He also shows how to shape and clean bits. These videos include both the actual carving process and visual concepts. Frank Russell's videos can be viewed online or on DVD. If you're looking for a comprehensive guide to carving birds and other animals, Fur, Feathers, and Fins are ideal.
Frank Russell's woodcarving videos make excellent resources for both beginner and experienced carvers. These videos provide step-by-step instruction for beginners as well as tips for more advanced carvers. They were filmed using Foredom Woodcarving Kits. A Cotton Tail Rabbit carving video is also included in the series.
Scott Phillips
Scott Phillips woodcarving videos are a great resource for anyone interested in woodcarving. The PBS show, "American Woodshop," features Scott and his woodcarving skills. Scott talks about his first woodcarving adventure, how he used his father’s expensive walnut boards and how his love for baseball inspired him to create his first decorative jewelry box. Scott has also published a book on history of the shuttle program. Scott will also recount the history of that program in his forthcoming book "Remove Before Flight." Although his woodcarving career has taken flight, he still occasionally builds other types of furniture, including clocks and Adirondack chairs.
Kevin Coates
If you enjoy carving, you may want to check out some Kevin Coates woodcarving videos. His YouTube channel has almost 7 million views and 26,000 subscribers. Many woodcarvers have been inspired by his videos to create their own woodcarving videos. Watch them to learn how to carve your own piece of art. These videos show carvings by Kevin Coates, as well as other well-known carvers. Look no further if you are looking for inspiring carving videos.
FAQ
What is the main difference between plywood or particle board?
Plywood is a combination of layers of wood, which are then pressed together under high pressure. Plywood is available in a variety of thicknesses. It is often used to make cabinets or flooring. Particle board can be made from sawdust, resin, and then compressed to make large blocks. This board is commonly used in home improvement projects. Both types of boards can be easily cut and are durable.
How can I learn basic woodworking skills
A great way to start learning how to build furniture is by building a simple bench for yourself. This project can easily be done using whatever wood you have at your house. If you aren't sure what type of wood to use, you can buy cheap pine boards from Lowes or Home Depot. After building your bench, sand off any rough edges and apply a stain or varnish.
What kind and type of wood should i use?
There are many wood types that are used in woodworking, including oak, maple and birch. Each wood type has its own characteristics which affect the final product's appearance and feel. Oak, for example, tends be darker and more hard than other woods. Birch is lightweight and soft while mahogany is heavier and denser. There are two options: solid wood and veneers. Veneers are thin sheets of wood that are glued together to form a single layer.
What is the difference between a hobbyist or a professional woodworker, and how can you tell?
Hobbyists enjoy making things out of wood, whereas professionals focus more on the quality of their work. Hobbyists often take pride in the creations they make and often share them to family and friends. Professionals spend hours researching design ideas before starting to work on a project. They'll be meticulous about every aspect of their work, from choosing the best materials to finishing it perfectly.
Statistics
- The best-paid 10 percent make $76,000, while the lowest-paid 10 percent make $34,000. (zippia.com)
- Woodworkers on the lower end of that spectrum, the bottom 10% to be exact, make roughly $24,000 a year, while the top 10% makes $108,000. (zippia.com)
- If your lumber isn't as dry as you would like when you purchase it (over 22% in Glen Huey's opinion…probably over 10-15% in my opinion), then it's a good idea to let it acclimate to your workshop for a couple of weeks. (woodandshop.com)
- Most woodworkers agree that lumber moisture needs to be under 10% for building furniture. (woodandshop.com)
External Links
How To
How to join wooden boards without using nails
Woodworking is a popular hobby. It is relaxing and enjoyable because you can create something useful with wood. There are times when two pieces of wood need to be joined together. This article will explain how to do this so that your woodwork projects stay beautiful.
Before you can join the wood pieces together, you need to remove any rough edges. You don't want any sharp corners to cause problems later. Once you've done this, you're ready to start gluing your boards together.
When working with hardwood, glue should be applied only to one side. Use glue on both the sides for softwoods, such as cedar or pine. Once you have applied the glue, press down on the boards until they are fully attached. Make sure you let the glue dry before moving on to the next step.
Once you've glued your boards together you will need to drill holes in the joints to accommodate screws. These holes will differ depending on the type and size of screw you are using. If you are going to use a half-inch wood screw, you will need to drill at least 3/4 inch deep.
After drilling your holes, drive the screws into the board's backside. Avoid hitting the board's top surface. Otherwise, you could ruin the finish. Don't drive the screws too far into the end. This will prevent splitting the wood's end grain.
Now that your project is finished, you'll want to protect it from the elements. You have two options: seal the whole furniture piece or just the top. You'll want a product that lasts for many years. Some examples include oil-based varnishes, polyurethane, shellac, lacquer, etc.
These products are available at most home improvement stores. Make sure you get the right product for your job. Some finishes are toxic and should not ever be used indoors. Wear protective gear whenever you are handling them.